ATC's

ATC's
Artist Trading Cards I have Created
Showing posts with label Easy Recipes. Show all posts

Sunday, September 25, 2022

Texas Cowboy Stew

I found this recipe on Pinterest.  Because I loved it so much I want to share it with all of you.
The Original site is linked to the cute logo below.


 Such an Easy Recipe.  Follow steps below for a delicious mouth watering Meal.
Step # 1 - Using a Skillet Sautee' your chopped up onions over medium heat.
Step #2 - Add ground beef and cook until there is no pink left.
Step #3 - Add your cut up sausage

In a crock pot or dutch 

  • Step 3. Pour in tomatoes, pinto beans, corn, potatoes, diced tomatoes with chiles and veggies
  • Step 4. Mix everything until well combined, add spices
  • Step 5. Add water, bring to a boil, and simmer for one hour.

WHAT CAN I ADD TO COWBOY STEW FOR FLAVOR?

In this recipe, spices make all the difference. Don’t hesitate to add more spices if you want a bit more kick.

A pinch of cinnamon, a dash of paprika as well as cumin and chili powder can render a very delicious stew.

I usually add chopped jalapenos to make it a bit spicier. Sometimes I even add cheese on top, throw it in the oven, and broil it until the cheese is melted and bubbly.

WHAT TO SERVE WITH COWBOY STEW?

To add a bit of freshness to this dish, I generally serve it with a simple mixed greens salad or coleslaw and a big slice of sourdough bread.

PRO TIPS FOR COWBOY STEW;

  1. This recipe is so easy, you really don’t have to be a pro to make it. But if you
  1. want to make it even more special,
  2. Place cooked stew on a casserole dish, put cheese on top, and bake until bubbly
  3. After cooking the ground beef and adding the kielbasa, cook it for a couple more minutes and drain the excess fat from the meat and the sausage.
  4. Add chopped jalapenos for an added kick, If you want to make it a bit less “soupy” add one cup of less water and cook until desired consistency.

Ingredients

  • 2 lb ground beef
  • 2 packages kielbasa sausage sliced into ½ inch pieces
  • 2 garlic cloves, minced
  • 1 onion, chopped
  • 2 (14.5oz) cans peeled and diced tomatoes, drained
  • 4 medium baking potatoes, peeled and diced
  • 2 (15oz) cans pinto beans, with liquid
  • 1 (15.2oz) can whole kernel corn, Drained
  • 2 (14.5oz) can diced tomatoes with green chile pepper, with liquid
  • 1 (10oz) package frozen mixed vegetables
  • 4 cups of water
  • 2 tsp ground cumin
  • 2 tsp chili powder
  • Salt and pepper to taste

Instructions

  • In a dutch oven over medium heat, sauteĆ© onion. Add ground beef and cook until there’s no pink left
  • Add sliced sausage
  • Pour in tomatoes, pinto beans, corn, potatoes, diced tomatoes with chiles and veggies
  • Mix everything until well combined, add spices
  • Add water, bring to a boil, and simmer for one hour

Nutrition

Calories: 676.7kcal | Carbohydrates: 52.2g | Protein: 35.3g | Fat: 37.1g | Saturated Fat: 12.9g | Cholesterol: 115mg | Sodium: 1620.2mg | Potassium: 1318.8mg | Fiber: 8.9g | Sugar: 7.4g | Vitamin A: 2474.2IU | Vitamin C: 30.8mg | Calcium: 116.8mg | Iron: 7mg


Thanks for Checking out my blog.

Please Subscribe to me    aka    FOLLOW ME. 
 Just click on the little button to the left of this that says Follow Me.  

If you subscribe to my blog site you will then get updates when I add more art or another post.

Comments are Welcome.


Friday, August 16, 2019

Blueberry Sky Pie

Well I want to write something and my mind has gone blank.  So for now I will share this awesome recipe with all of my followers.  
Though there is not many of you I want to try and post more often this year than I did last.  I think I am doing pretty good so far.


Blueberry Sky Pie

Ingredients:

8 oz pkg cream cheese
1 Tbs Koolaide (Lemonaide)
14 oz Can of Sweeten Condensed Milk
8 oz Whip Topping
2 Boxes of Blueberry Pie Filling
2 Gram Cracker Crust

Instructions:

Mix all ingredients (saving out about 2 tsp. of blueberry pie filling for topping on pie when done for decoration)

Poor into Gram Cracker Crusts, then place in the refrigerator for 2 hours.  Eat and enjoy.  Great with milk or Coffee.

Number of servings 6-8
Makes 2 Pies

Some are now using a can of frozen lemonaide.  Cost more and not sure what you do with the excess.  Also see people are only chilling for 20 minutes now.  Chilling longer makes it stand up better.  Keep one for home and take one to your co workers, Dentist like I did at Christmas time or a dear friend.


p.s. pictures were borrowed from the world wide web.  I starting making this recipe in 1975.  You can also switch out blue berry for strawberry or cherry.
****************************************
Thanks for Checking out my blog.

Please Subscribe to me    aka    FOLLOW ME. 
 Just click on the little button to the left of this that says Follow Me.  

If you subscribe to my blog site you will then get updates when I add more art or another post.

Comments are Welcome.


Wednesday, July 19, 2017

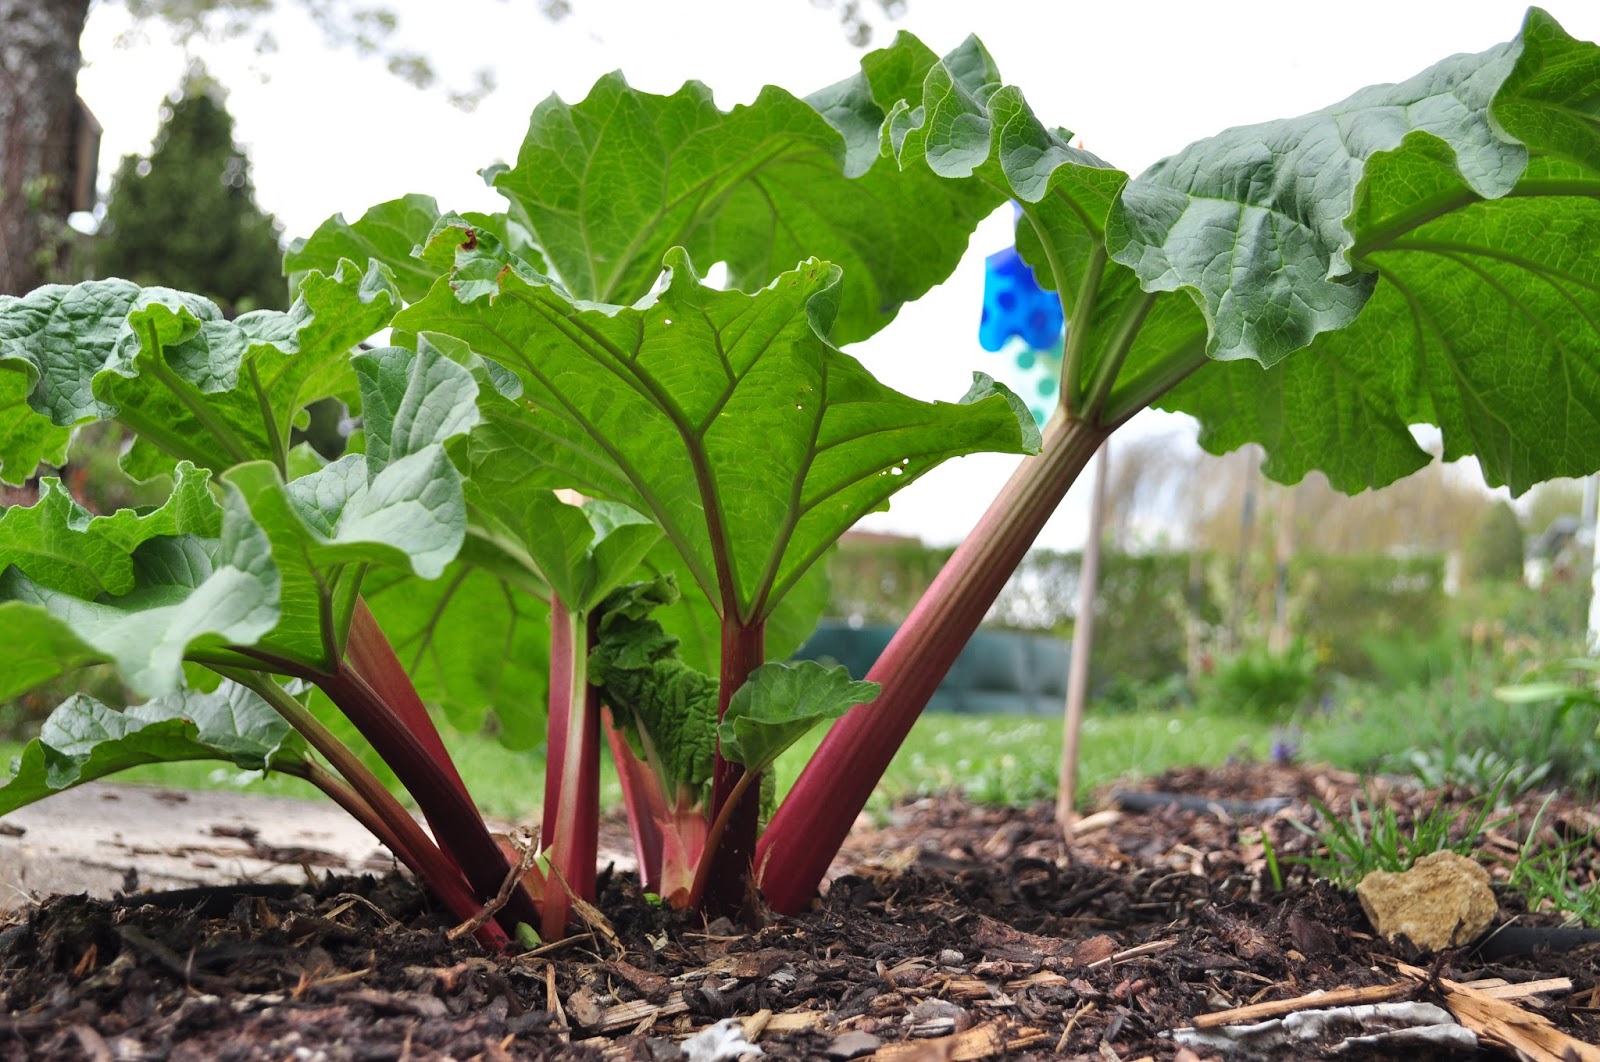
Rhubarb More than a Plant


Rhubarb

Not just a plant.
But it is Pretty in your flower garden.  

But it's also real tasty.
Do you like Lemons, or other sour foods.  
You will love Rhubarb with salt.  
Well I eat Lemons with salt.  

But you can back really good sweets too.  Scroll down


Break off the stalk.  Do NOT eat the leaves. Break them off when they turn red.

They also have nutritional value too


Here are just a few Recipes I borrowed from Pinterest.  
You can find lots of great recipes on there.  
This one is by Julie just click on the link below the photo.


RHUBARB CUSTARD PIE WITH AN OATMEAL COOKIE CRUST


Ingredients

OATMEAL COOKIE CRUST:
3/4 cup oats
1/3 cup all-purpose flour
1/3 cup packed brown sugar
1/4 tsp. cinnamon
pinch salt
1/4 cup butter, cut into pieces
FILLING:
3 cups chopped rhubarb (about 1 lb)
1 1/4 cup sugar, divided
3 Tbsp. cornstarch
3/4 cup sour cream
1/4 cup heavy (whipping) or half & half cream
2 large eggs
1 tsp. vanilla
pinch salt

=================================================


=======================================================


This one I was thinking maybe I could add a little less sugar.  

 This is from Krissy's blog (I found it also on Pinterest)

STRAWBERRY RHUBARB JAM

PREP TIME
COOK TIME
TOTAL TIME


Canning in jars is easy when you know How to Make Strawberry Rhubarb Jam from fresh rhubarb, strawberries, sugar and lemon without pectin.
Author: 
Recipe type: spread, breakfast
Yields: 4 cups


INGREDIENTS
  • 5 cups rhubarb (about 3 large stalks), cut into 1⁄2" cubes
  • 2 cups hulled and halved strawberries (about 1 pint)
  • 2 1⁄4 cups sugar
  • 1 tablespoon fresh lemon juice (from about half of a large lemon)
==============================

INSTRUCTIONS


  1. Combine all ingredients in a medium to large saucepan over medium heat. Once mixture starts to bubble, reduce heat to medium low. You'll want the heat set to the point where it continues to bubble but not violently when stirred (you'll understand once you start cooking if jam bubbles start to pop out of the center of the pot). Continue to cook, stirring occasionally, until the jam has thickened. Plan on cooking jam for about an hour and temperature of the mixture is over 205 degrees F.
  2. While the jam is cooking, sterilize four 1-cup jelly glass jars plus their rings and lids. I do this by boiling them in water for 10 minutes or I boil the lids and run the rings and glass jars through the dishwasher.
  3. Transfer sterilized jars, lids, and bands to a clean dish towel.
  4. Have a very large covered pot of boiling water ready. There needs to be enough water in the pot so that when the filled jars are submerged, they're covered by at least 1" of water.
  5. Fill each jar with hot jam, leaving at least 1⁄4" of space at the top. Place lids on jars, and secure ring bands. Secure just tight enough so that they are hand tightened but you can easily unscrew.
  6. Transfer filled jars to pot of gently boiling water and let boil for 10 minutes. Transfer jars, set at least 1" apart, to a dish towel and let cool, undisturbed, for 24 hours. You should hear the seals on the lids pop pretty soon after removing from the water.
  7. If any jar is not fully sealed, or you chose to skip the canning process, jam should be refrigerated and used within 2 weeks. Sealed jars will keep, in a cool, dark place, for up to a year.

=================================

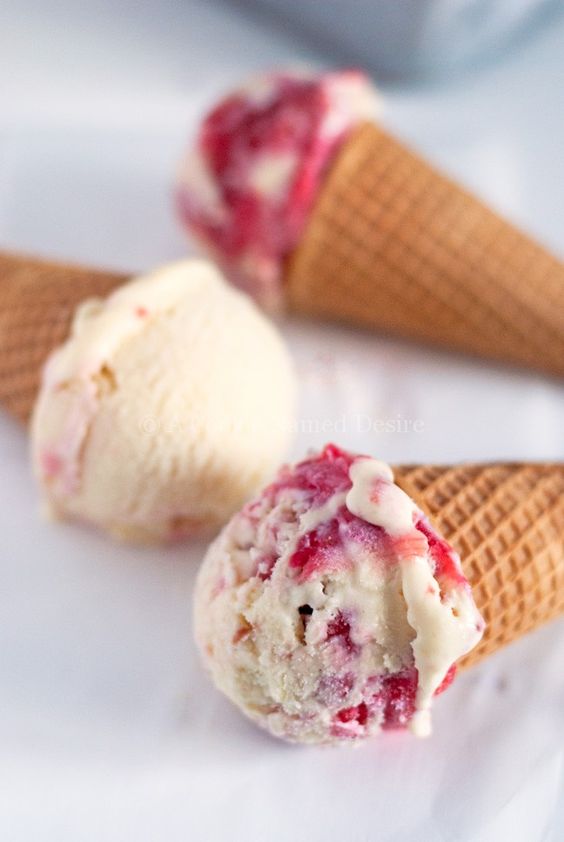
This is one I really want to try.  


Recipe From
Ingredients
Vegetarian, Gluten free
∙ Makes 1 quart
Produce
  • 3 Rhubarb stalks
  • 1 cup Strawberries
Refrigerated
  • 4 Egg yolks
Condiments
  • 2 tbsp Corn syrup
Baking & Spices
  • 1 tsp Corn starch
  • 1 Salt
  • 1 pinch Salt
  • 1 1/2 cup Sugar
  • 1 tbsp Vanilla
Dairy
  • 1 1/2 cups Heavy cream
  • 3 cups Whole milk

Thanks for Checking out my blog.

Please Subscribe to me aka FOLLOW ME.
Just click on the little button to the left of this that says 
FOLLOW ME

Comments are always welcome


Wednesday, July 6, 2016

All Reviews For past Years


I'm making this page each year and maybe even Monthly to show what went on each year.

Why click on these links.  Well it is short and to the point with pics.  Why scroll down all the posts trying to figure what you want to see when you can scroll down and see a brief pic and get a better idea if you want to read that post or not.


Click the link


Review..................Check out these posts for 2014

Ok I got thinking about something a bit ago.  How many of us blog about something important that might help out others.  Or maybe do a blog on a technique or something we really want others to see.

Well probably all of us.   And they get viewed, then are on the back burner or way back in the closet so to speak just covering up with dust.  I'm not sure if you are like me, but I hate clicking on the month on a blog or on the year and then months to see what might have been posted.  So I am going to start posting the first and 15th of each month several older posts past.  That way you can check them out by clicking on the link.  Or I hope it takes you right to them.  I might have to do a bit of work to get this right. So please bare with me while I try to get this right.  Go right to the post and no scrolling for ever to find the particular post.


Check out these posts

Reviews for 2014
Click on titles to check out the actual pages

Finally my Blog and Stores
Posted on 19 March 2014


Washi Tape Mittens
Posted 19 March 2014


Paper Piecing My Newest Addiction
Posted 19 March 2014


See all the places you can go for FREE patterns


Creative Crafts and Supply's
Posted 4 June 2014


Introducing my Store and Website.  Find items for sale, gifts that are handmade for sale. Techniques, ATC's for Trade and examples.  Oh and my pets.  LOL

Book Binding
Posted 4 June 2014


CUT FILES 
Posted 5 June 2014

some other information of 2 other websites I own.  Both have good
information on there.  Or I think so anyways.  LOL

Curtains and How to shorten them.
Posted 6 June 2014


Clip Art and Places to Find Them
Posted 8 June 2014


Oven Roasted Sausages, Potatoes and Peppers
Posted 16 June 2014


Postal Service Messed Up
Posted 19 June 2014


Recycle Mailing Envelopes
Posted 19 June 2014

DIY


Building a Website
18 July 2014


Recycle Your Old Tires
20 July 2014


Confused Follow Me WHY NOT ??
Posted 23 July 2014


Cricut Cheat Sheets
Posted 29 July 2014


My Zentangle I made for my son
Posted 4 August 2014

Children's Rings Great Party Favors
Posted 4 August 2014


Smash Book for my Sister
Posted 12 August 2014

Doing a Little Crafting
Posted 22 August 2014


Welcome to Stampers Anonymous
Posted 31 August 2014


My Pinterest Addiction
Posted 3 September 2014


My New Bracelet Design
Posted 6 September 2014


Bracelet I made last night
Posted 8 September 2014


10 Things I thought I'd Never Say Before Becoming a Mommy
Posted   September 2014


Google & Blogger
Posted 13 October 2014


Shopping has Began
Posted 14 October 2014


Yummy Pumpkin Recipe
Posted 23 October 2014


Easy Cute DIY Project
Posted 23 October 2014

What to do with Washi Tape
Posted 24 October 2014


Recycling Handle for my Case
Posted 28 October 2014


DIY Halloween Potion Bottle
Posted  2 November 2014


My Handmade Christmas Cards
Posted 5 December 2014


Yummy Veggie & Chicken Burritos-Tacos or Quesadilla's
Posted 12 December 2014


Well that's all for 2014.  Hope you enjoyed this idea of Reviews.  You can also click on the word Reviews under labels on right hand side and it will bring up any reviews I might have done.

Thanks for checking out my blog.

Please Subscribe to me aka Follow me.  Just click on the little button to the left of this that says Follow Me.

If you subscribe to my blog site you will then get updates when I add more art or another post.

Comments are welcome.